210 2231624
Caliper Buyer's Guide
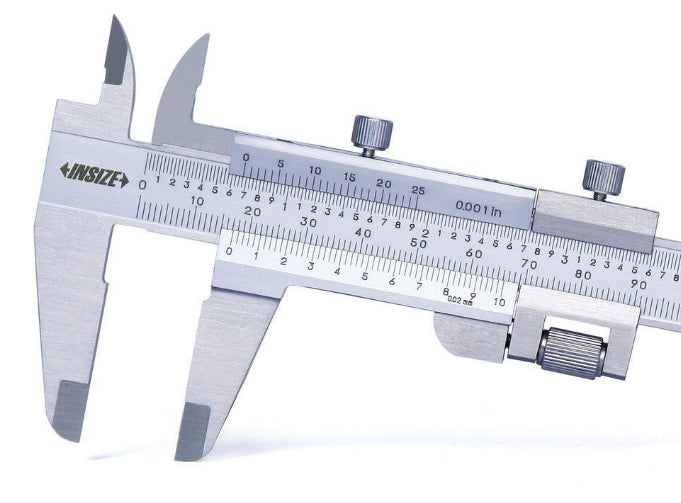
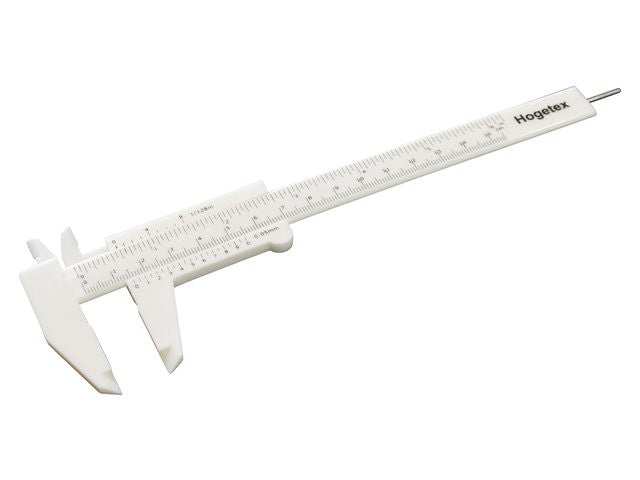
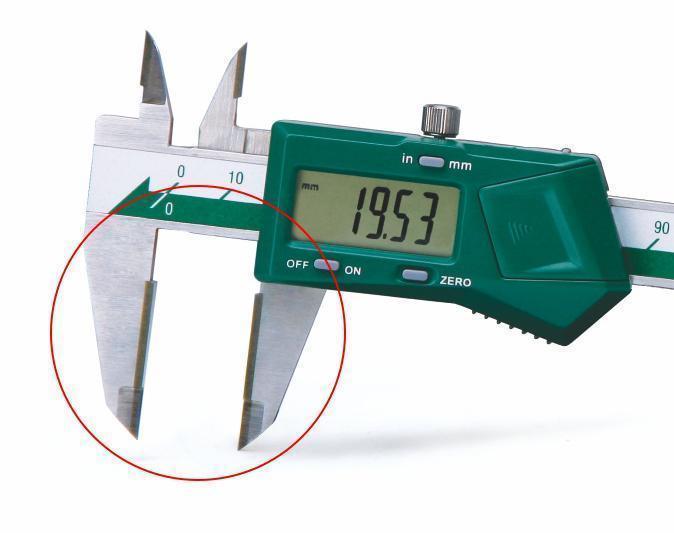
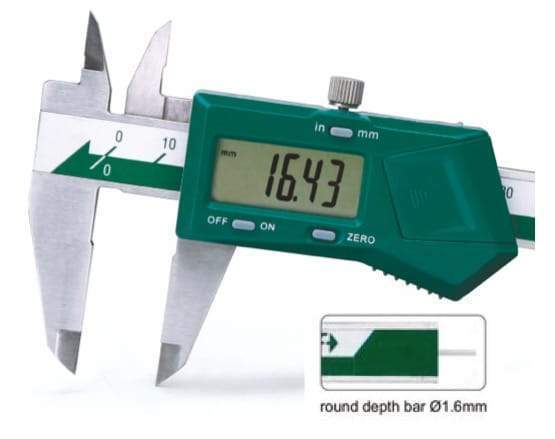
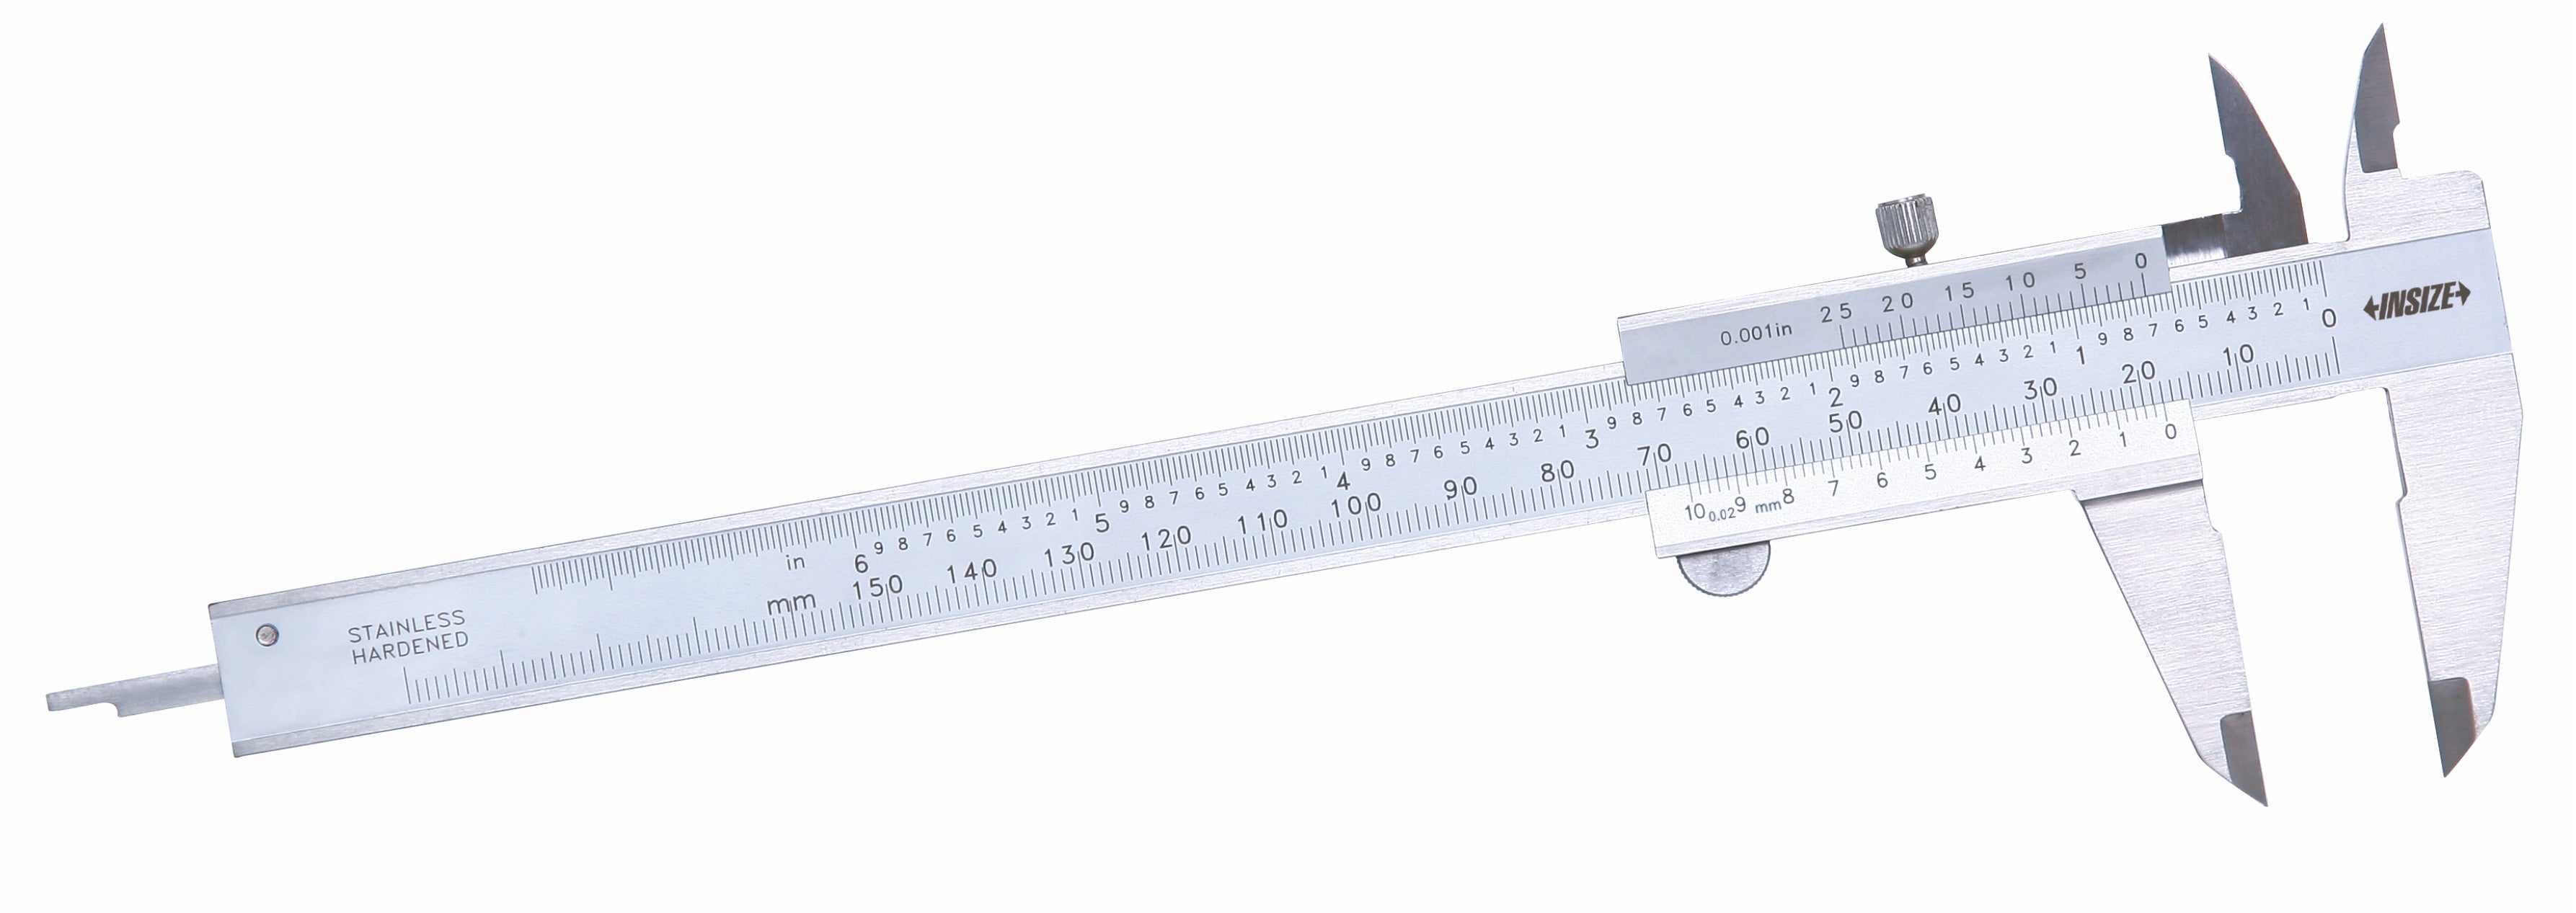
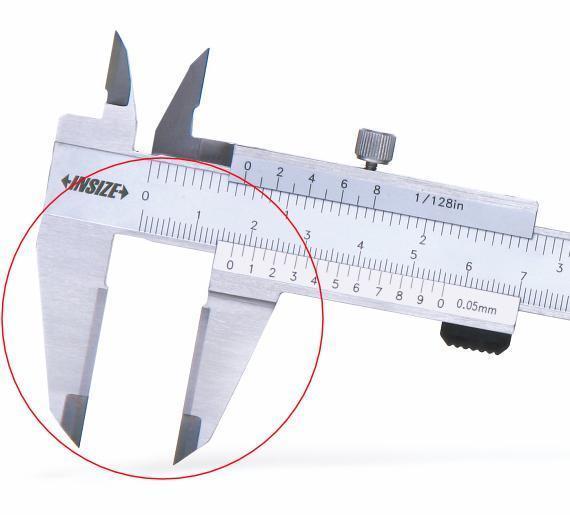
The caliper is unquestionably the most basic measuring instrument. Ease of use, wide range, low cost and multitude of applications make it the most basic general purpose measuring instrument. A common caliper has 2 pairs of jaws, one for external measurements, and one for internal measurements. In addition, it also has a depth measurement bar for measurements like a depth gauge, which is offered in a flat as well as a round type. Calipers are of 3 types:
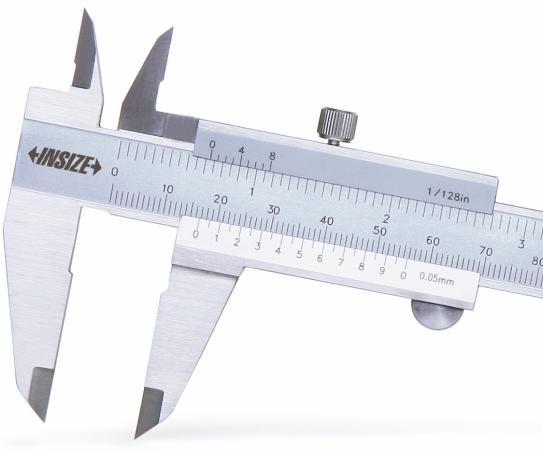
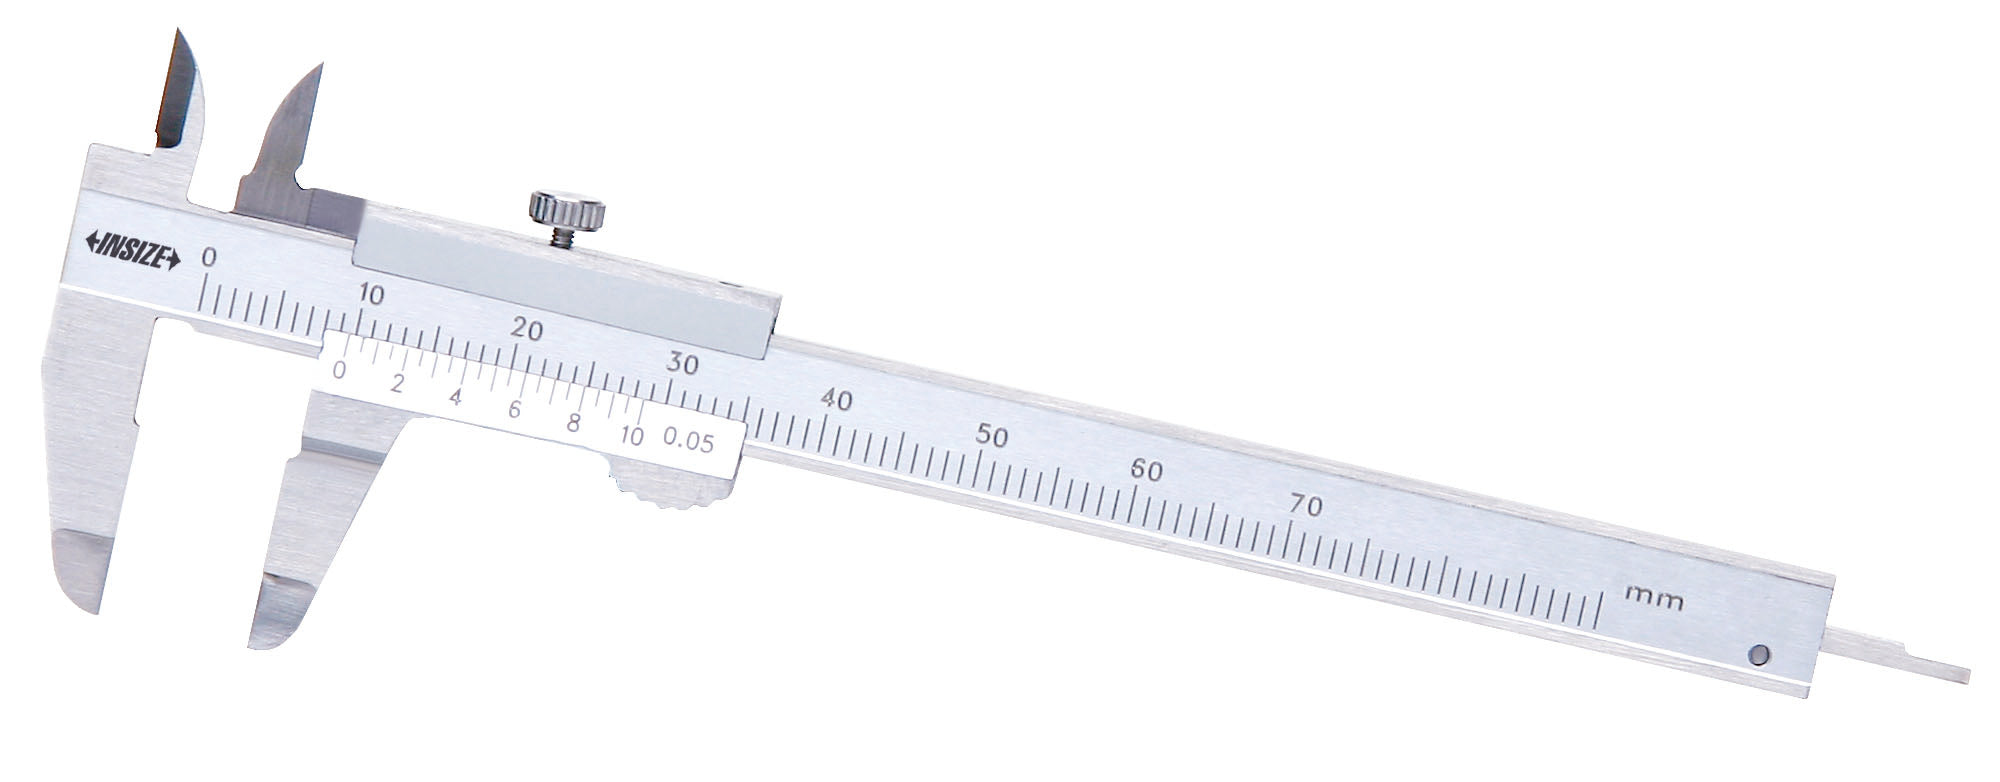
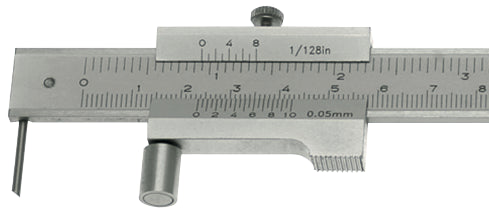
- Vernier calipers
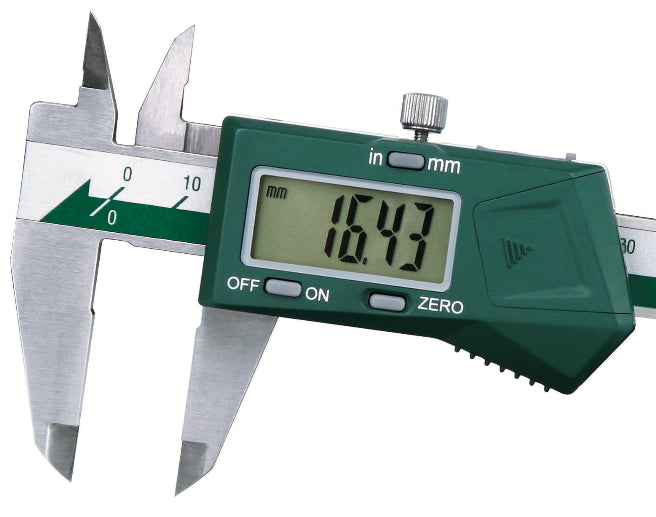
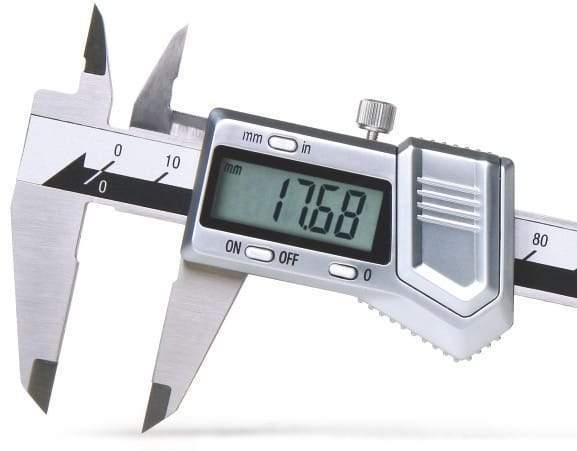
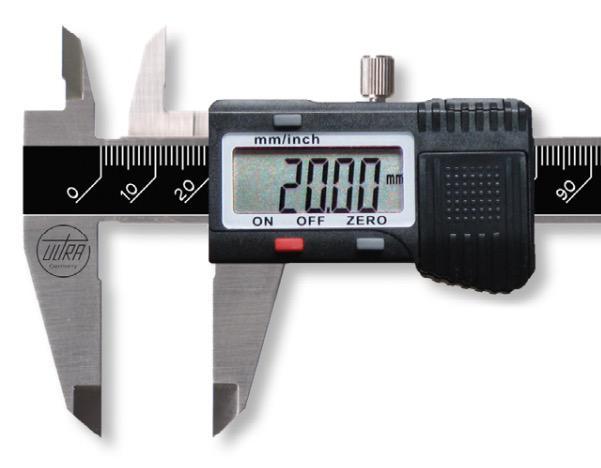
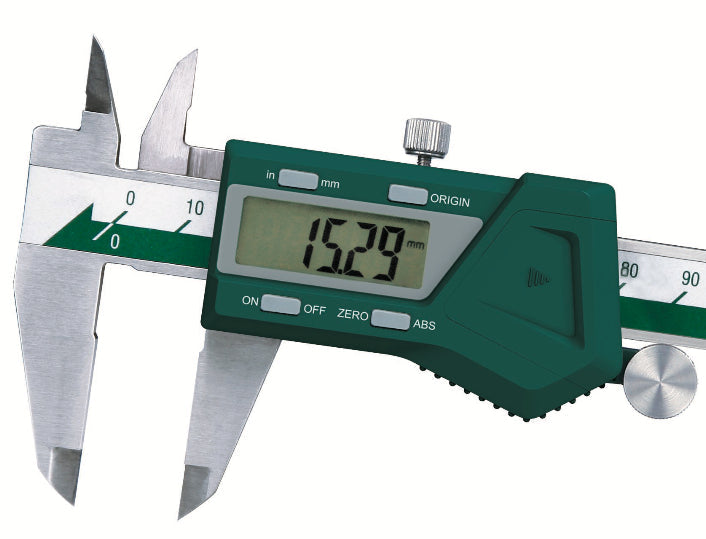
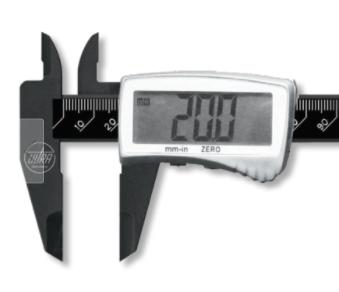
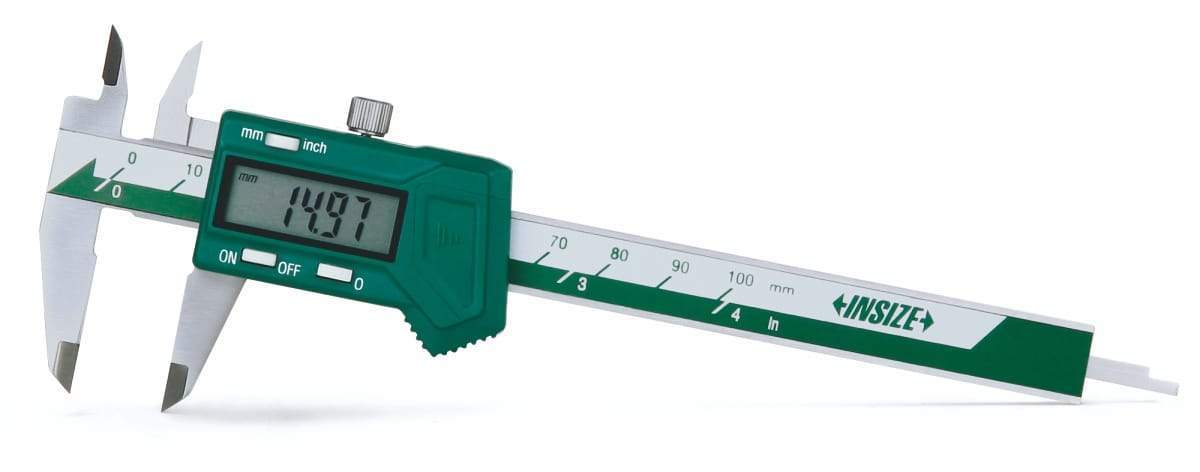
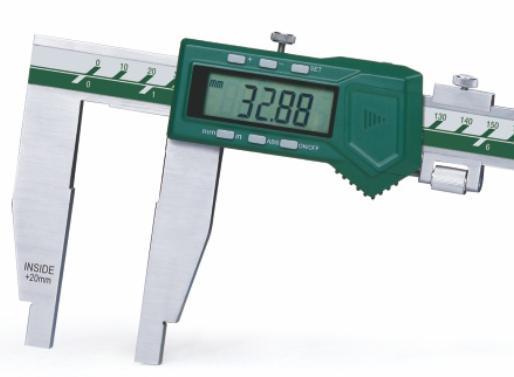
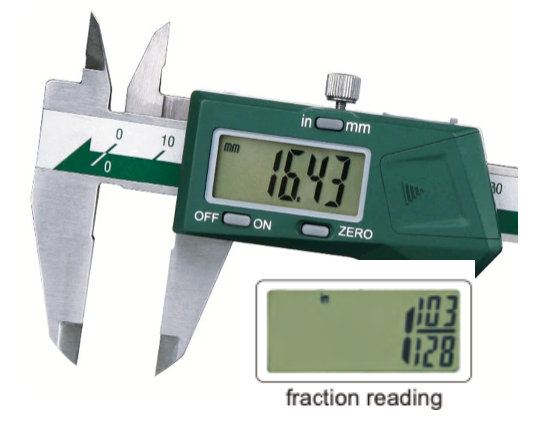
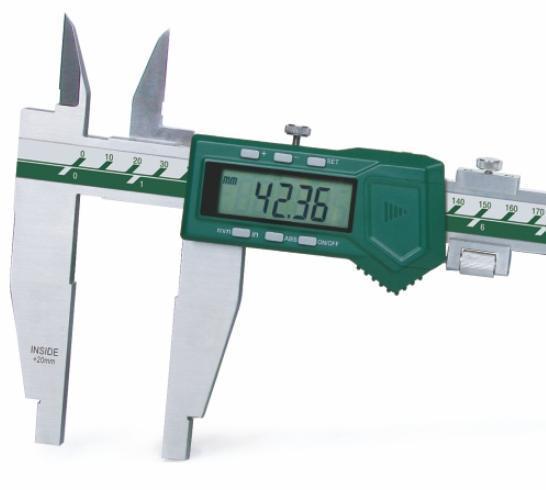
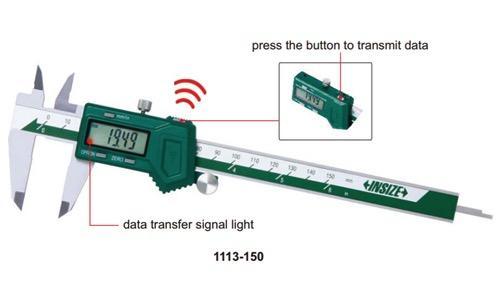
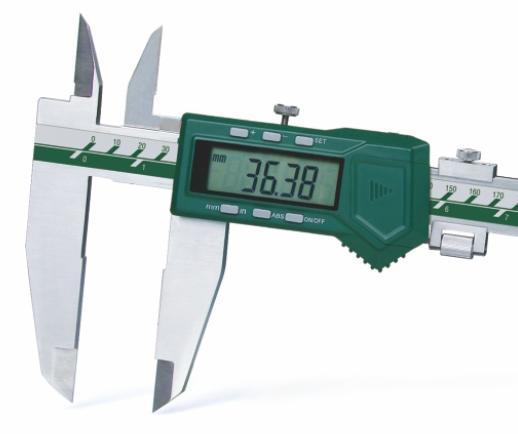
- Digital calipers
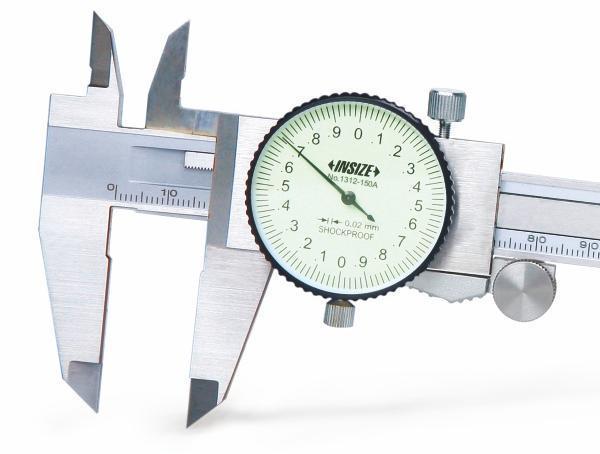
- Dial calipers

Diagram of a vernier caliper showing a measurement of 2.475cm ± 0.005cm on the metric scale. The parts of the caliper are:
- External jaws : used to measure external dimensions. (eg width of an object or diameter)
- Internal jaws : used to measure internal dimensions. (eg diameter of a hole)
- Depth measuring rod : used to measure depth (e.g. of a hole)
- Main scale: graduated scale per mm
- Secondary scale : calibrated scale in inches.
- Vernier scale: Use for 0.05mm or 0.02mm precision measurements
- Inch Vernier Scale: Use for precision measurements in inches
- Button: Use as a brake to stabilize a measurement
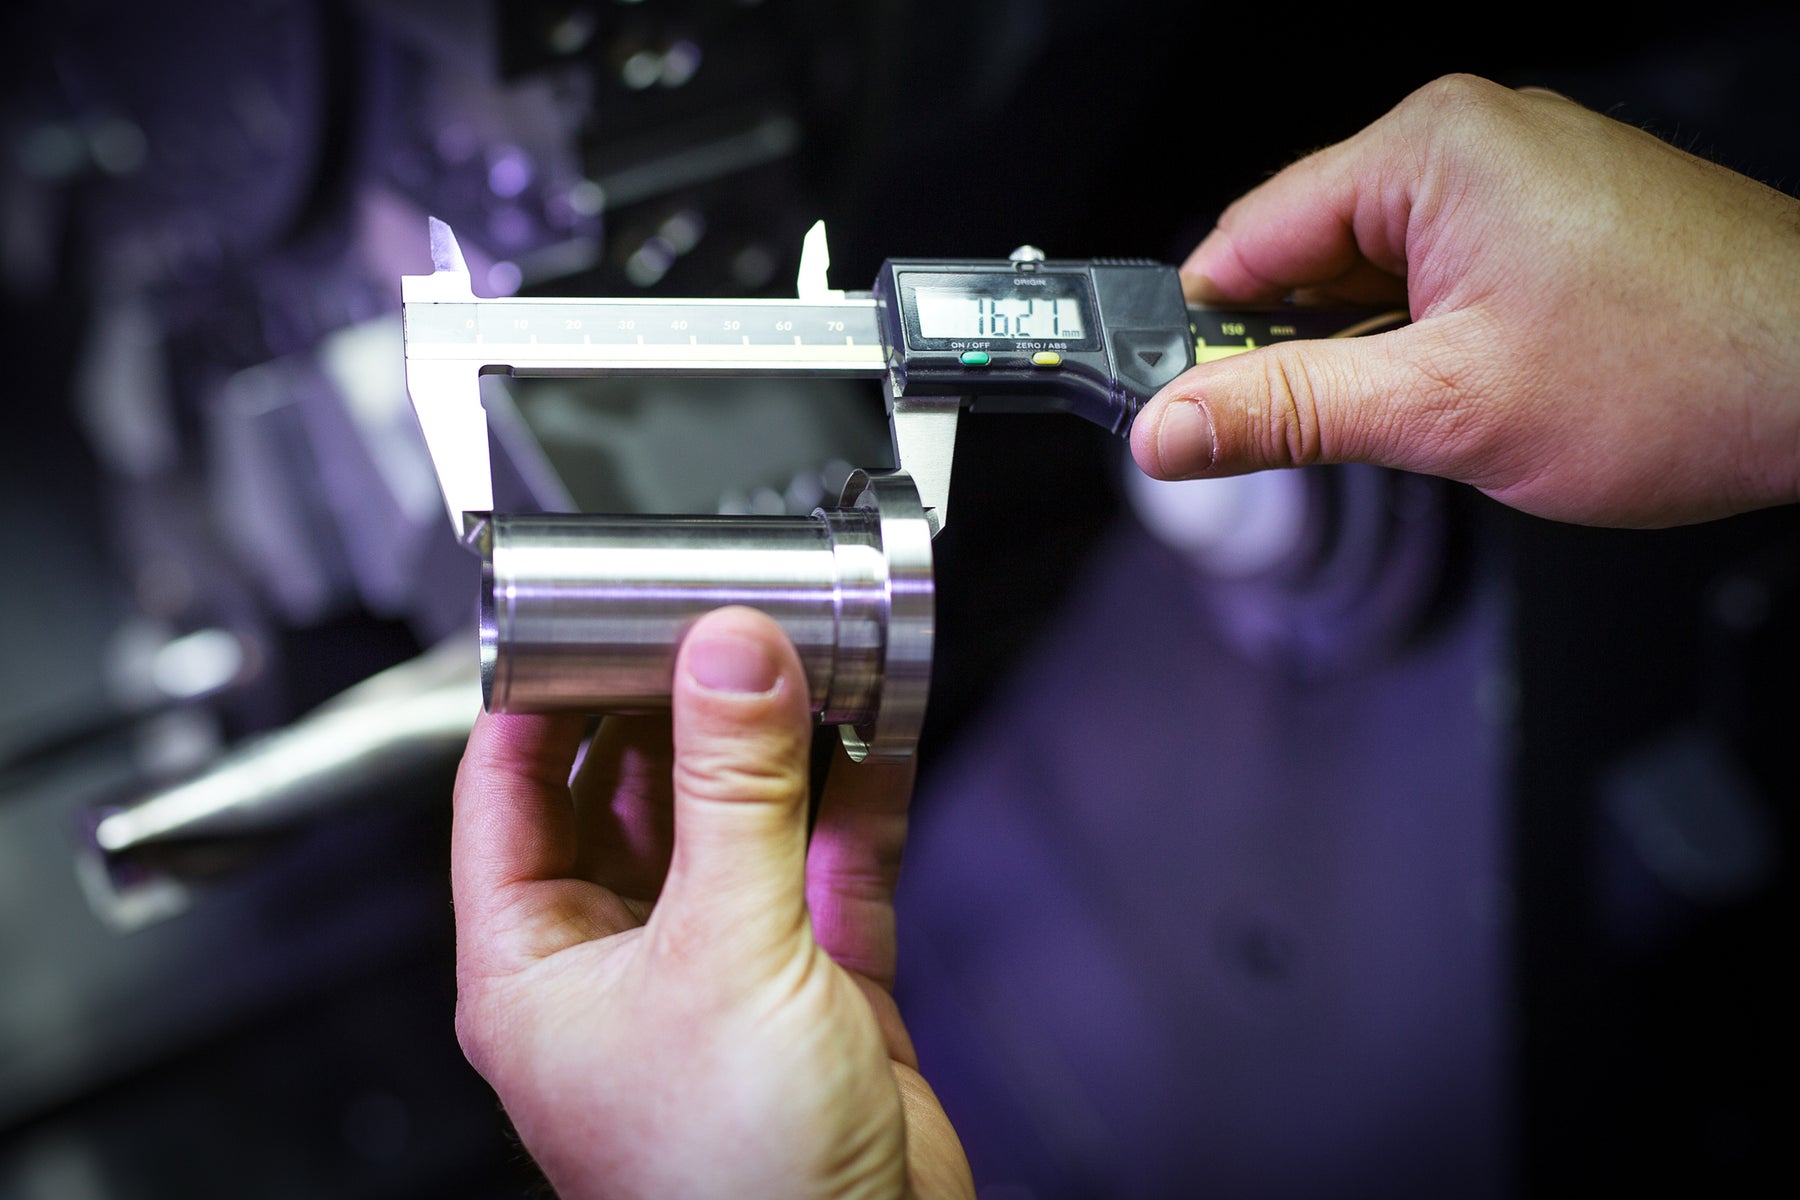
How do we measure with a caliper?

Measuring with a watch caliper

Thickness gauges for special applications


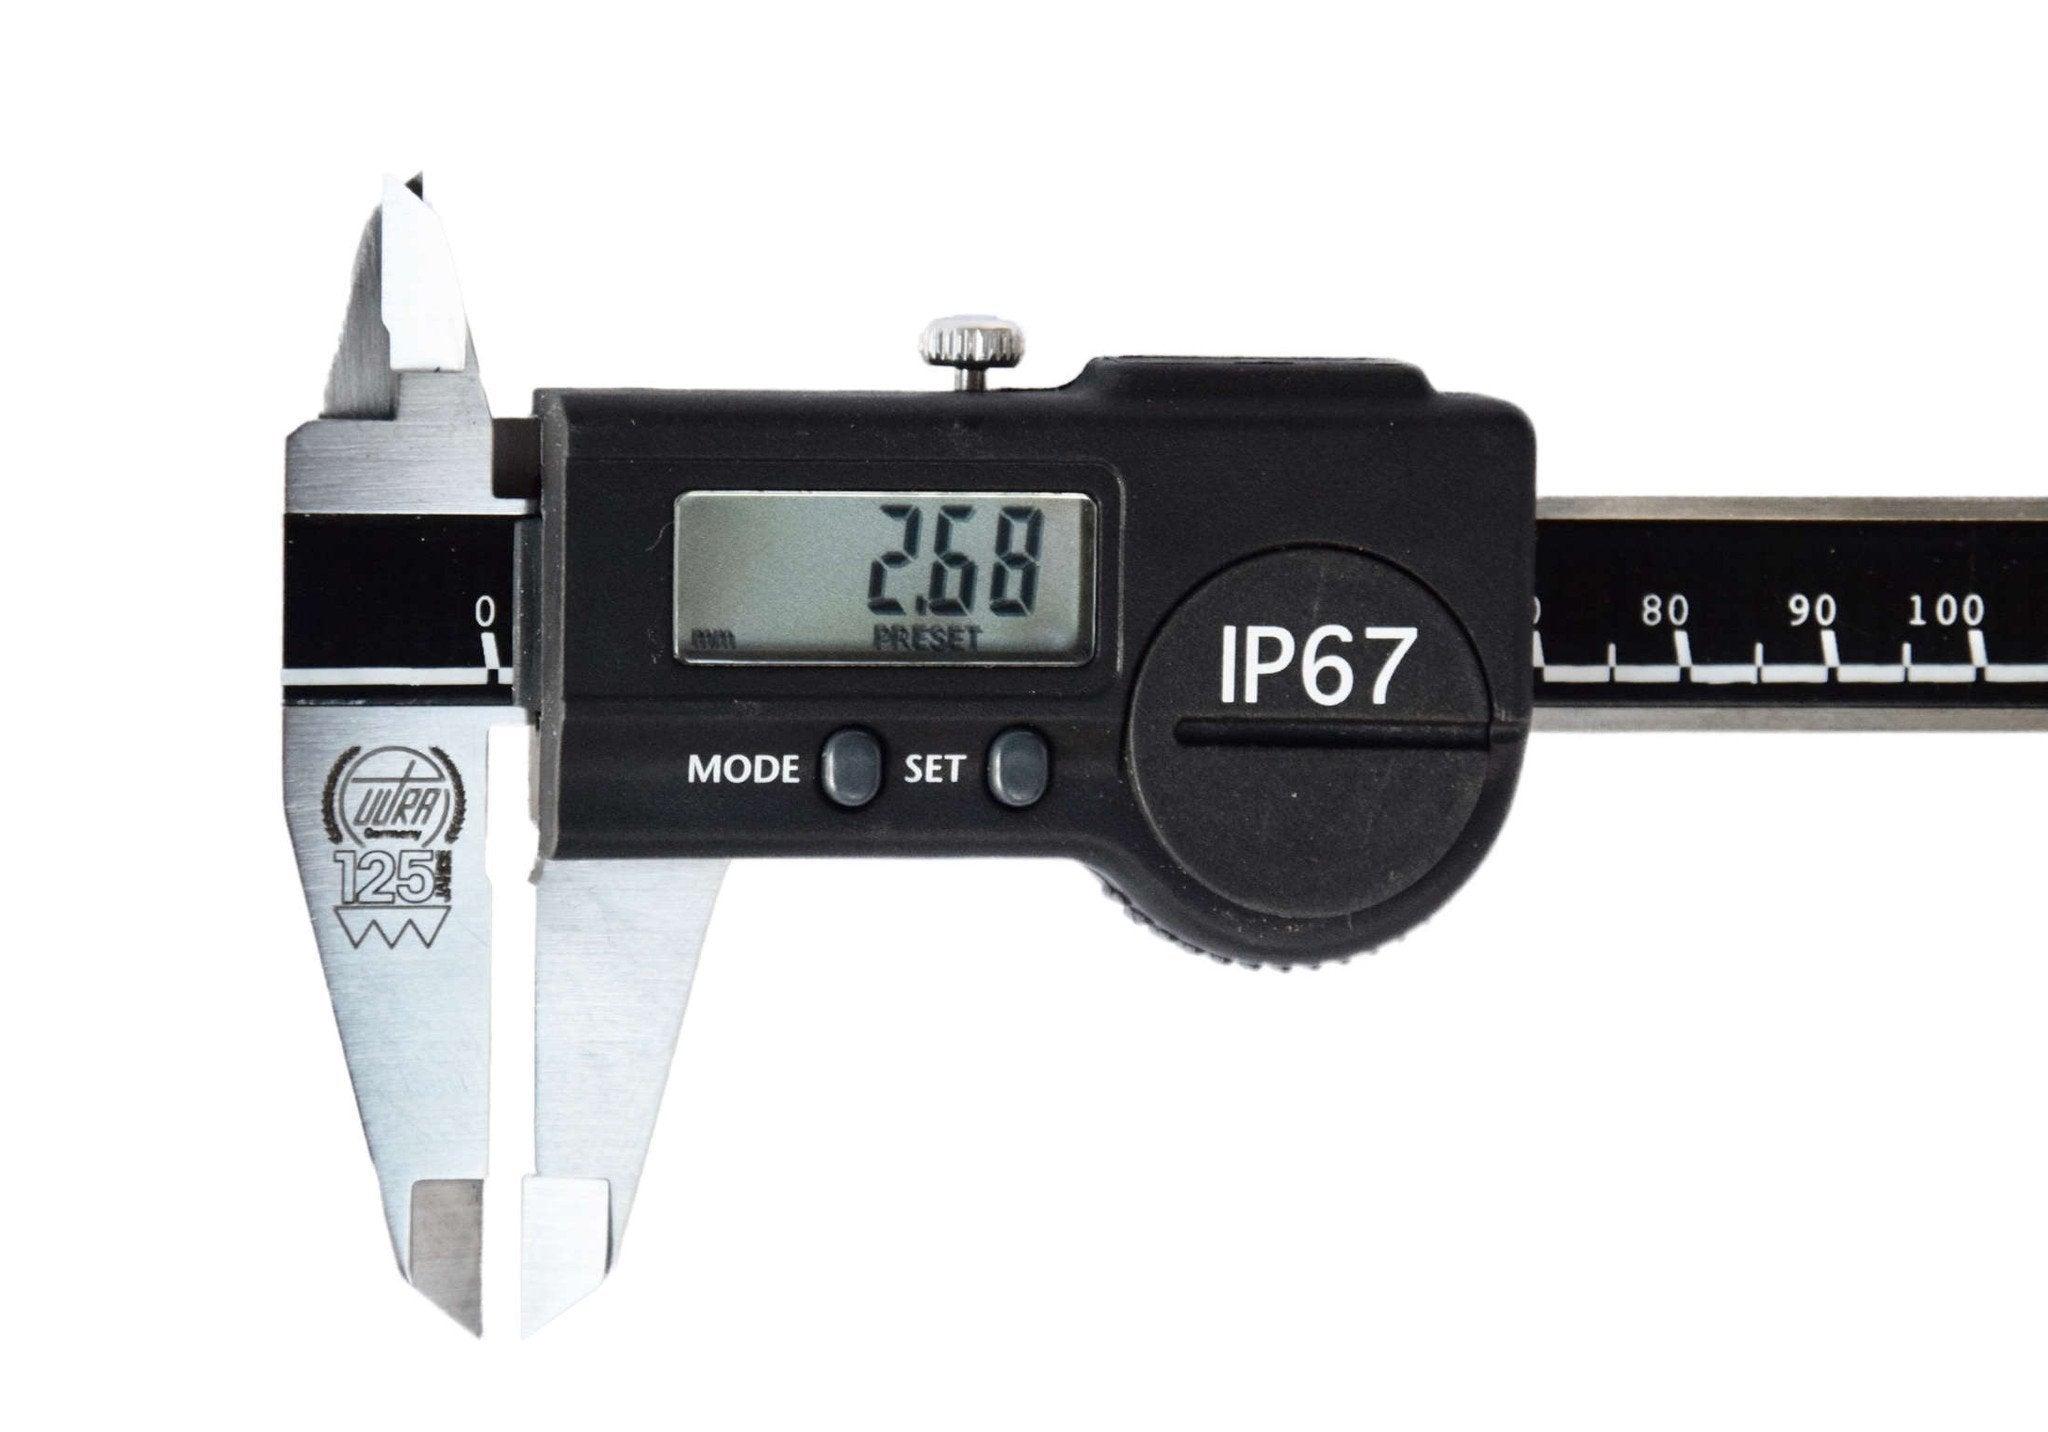
IP67 Waterproof Digital Calipers

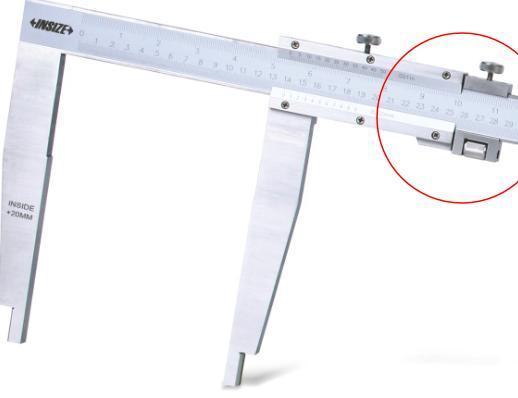
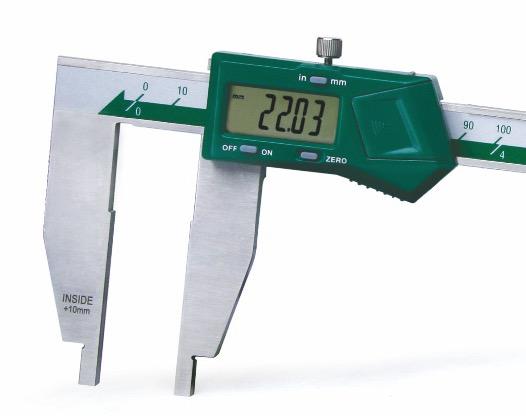
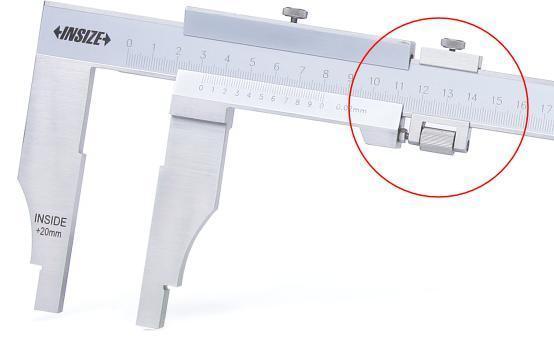
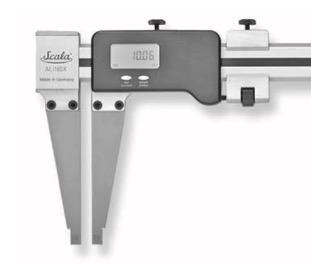
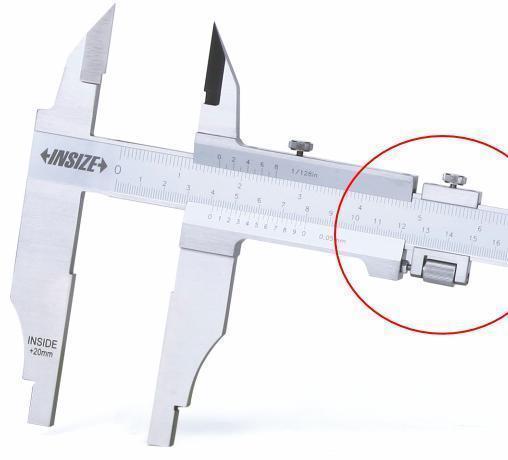
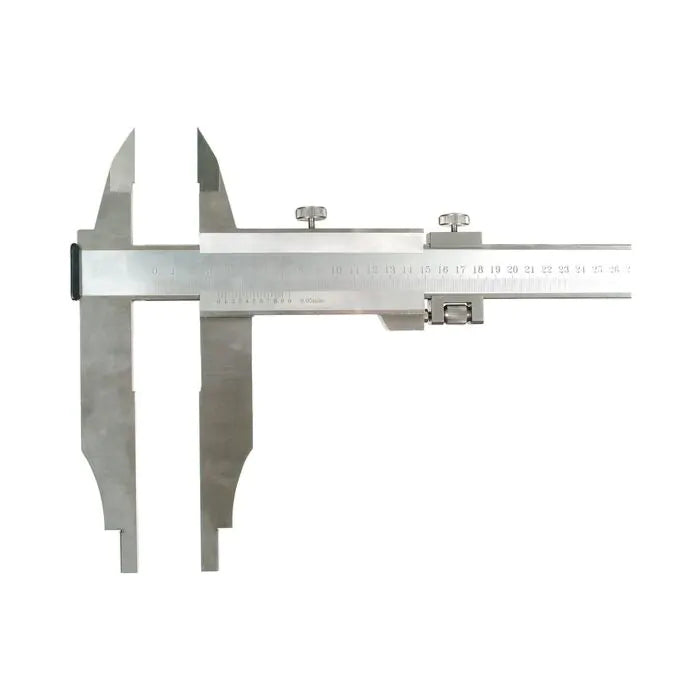
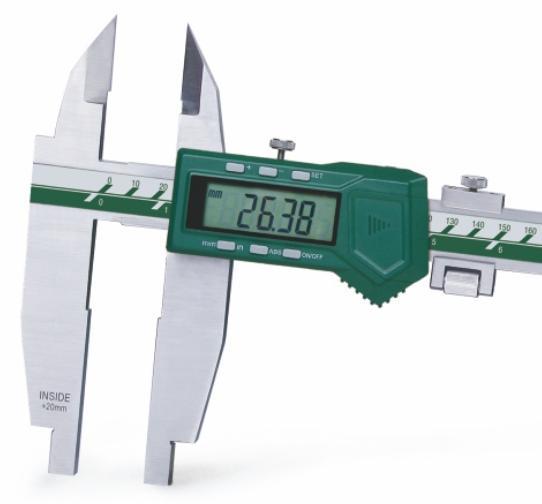
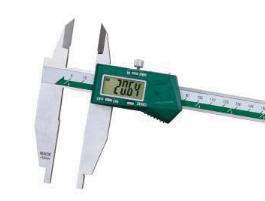
Heavy Duty Calipers (large)
For measuring large pieces roughly, steel tapes are usually used. But if greater precision is required in the measurements, then heavy-duty calipers become necessary. Long calipers are very convenient for the user but require some care during use. First of all, it is important to realize that there is no relationship between reading and accuracy.
The reading is stable while the accuracy can vary dramatically depending on how the caliper is used. Measuring technique is important as a small distortion of the instrument body will cause a large error. Therefore the accuracy of the measurement is highly dependent on the method used to support the caliper.
Extra care is needed not to use too much force on the jaws. As the large jaws are further from the main body than in normal small calipers, the error here will be maximum.

Possible causes of error
Errors when measuring with a caliper can occur for various reasons. The most important reasons are the parallax effect, the fact that the caliper as an instrument does not obey Abbe's principle, the differential thermal expansion due to the temperature difference between the instrument and the piece to be measured.
Although there are other factors of error, such as the accuracy of the scribing, the flatness of the fixed bar and the verticality of the jaws, these factors are included in the manufacturer's error limits.

Internal Measurements
Insert the jaws as deep as possible before measuring.
Read the maximum value during internal measurements.
Read the minimum value during external measurements.
Depth Measurements
Read the minimum value during depth measurements.
Parallax error
We always look in a straight line at the vernier. If we look at the vernier plot from a sideways direction (A), the apparent measurement position is skewed to the XY as shown in the figure below. This distortion is due to the parallax effect caused by the difference in height (H) between the planes of the 2 bar graphs. To avoid this error, JIS specifies that the height difference should not be more than 0.3mm.

Moving Jaw Error
If the moving jaw goes out of parallel with the fixed jaw, either due to excessive force or lack of straightness of the bar, an error will occur as shown in the figure.

Measurement and temperature
The main scale of a caliper is engraved on stainless steel, and although its coefficient of thermal expansion is equal to that of the most common material to be measured, namely steel (10.2 ± 1) × 10-6 / K, it should be noted that the room temperature and the temperature of the part to be measured can affect the accuracy of the measurements.
Handling
Handle the instrument with care and avoid any impacts or falls on the floor.
Cleaning and Reset
- Wipe dust and dirt from the sliding surfaces with a dry soft cloth before use.
- Clean the measuring surfaces by grasping a sheet of clean paper between the jaws and then slowly pulling it out.
- Close the jaws and ensure that the vernier scale (or screen) reads zero before measuring.
Save
- Avoid direct sunlight, high temperatures, low temperatures and high humidity during storage.
- If a digital caliper is not used for more than three months, remove the battery before storage.
- Finally, do not leave the jaws of a caliper completely closed during storage as they collect moisture.

